You may remember back in 2013, we held our first design competition. We were flooded with absolutely amazing entries; so much so that we couldn't pick just one, and ended up choosing 3 winners and creating a mini-collection.
Since then, Eva has gone on to create her own brand, and Pippa worked on our design team for several months after graduation.
We have launched a new design competition for a mini-collection in SS'16.
The 3 winners will see their design concepts taken through to final production and a photoshoot, with a limited release of 30 sets each.
Our competition is open for to all fashion undergraduates and recent graduates, with a deadline of the 13th of March 2015.
We will be creating a shortlist of 10 entries, which we feel best suit our brand, and encourage our fans to vote on facebook to help us select the final winners!
THE BRIEF
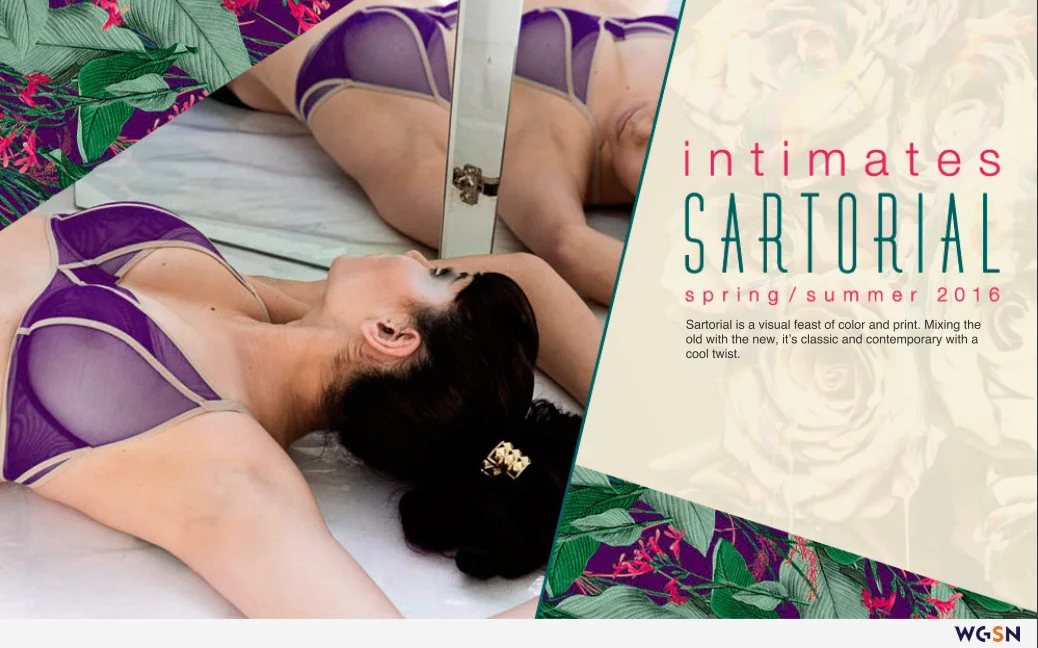
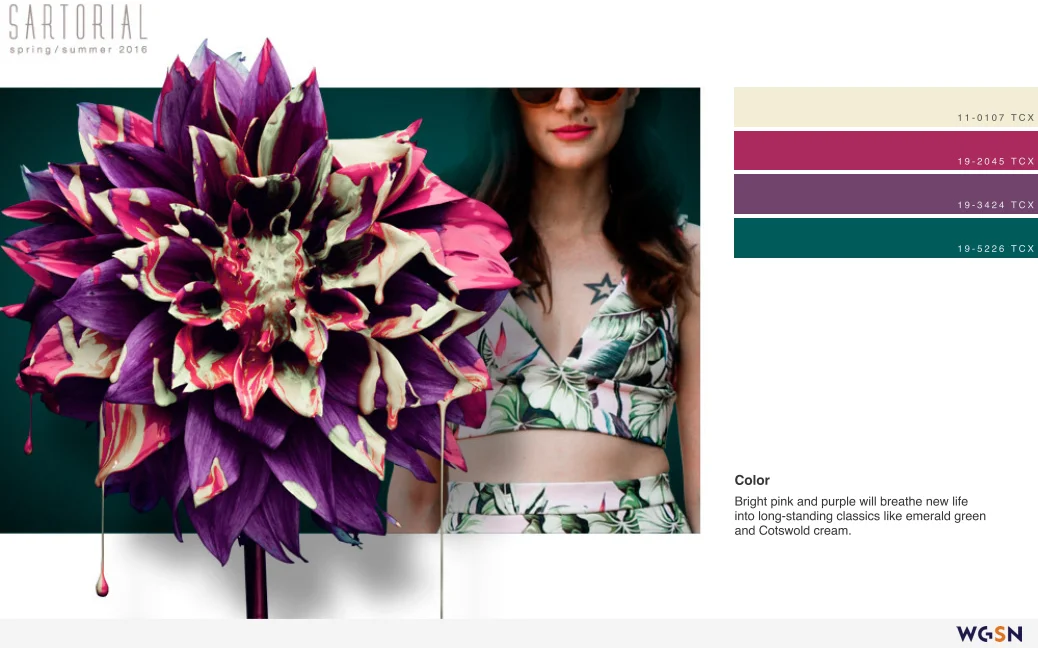
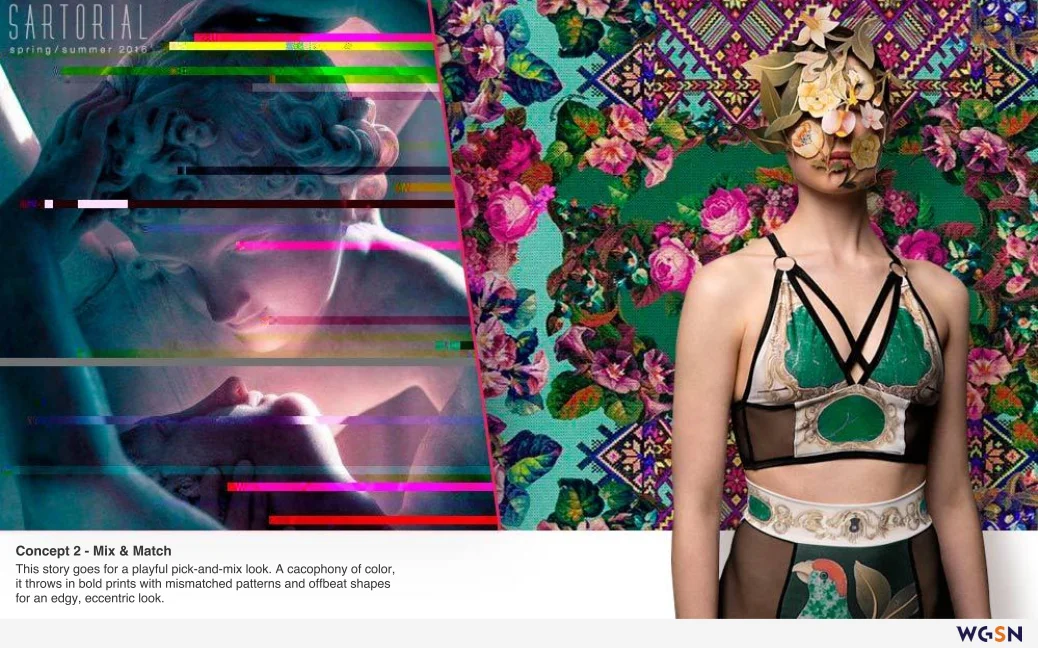
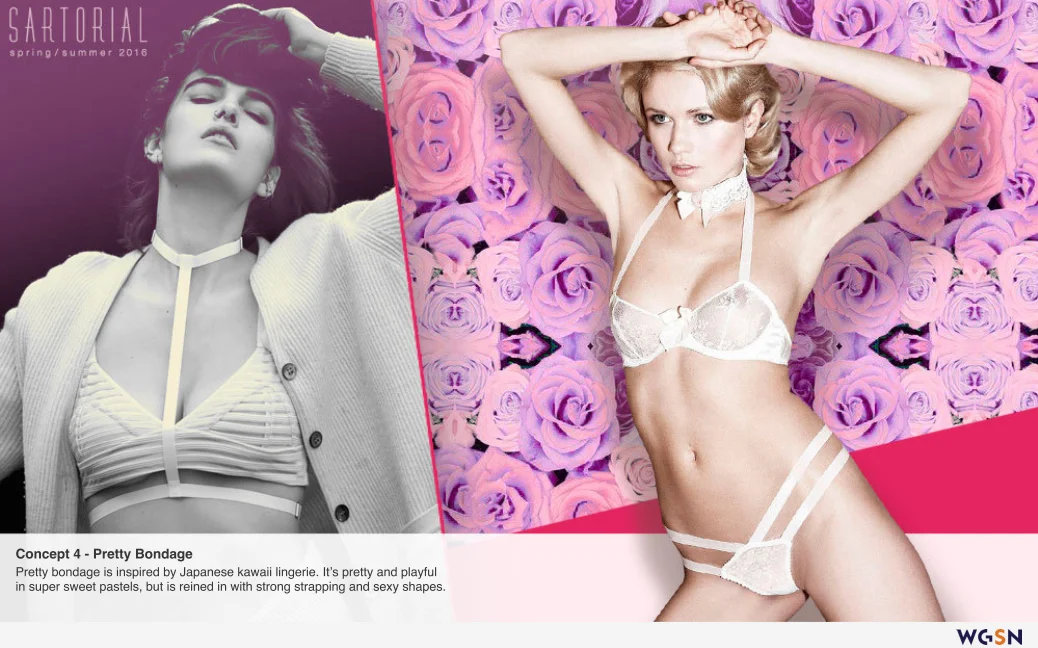
The year’s design competition takes its theme from Stylesight's SS'16 Trend Forecast – ‘Sartorial’. This trend is perfect for the Playful Promises customer with it's mix of grown up girl with dark detailing. Think pretty bondage, flowers and restraints, delicate embroidered lace and harder textured wet look fabrics.
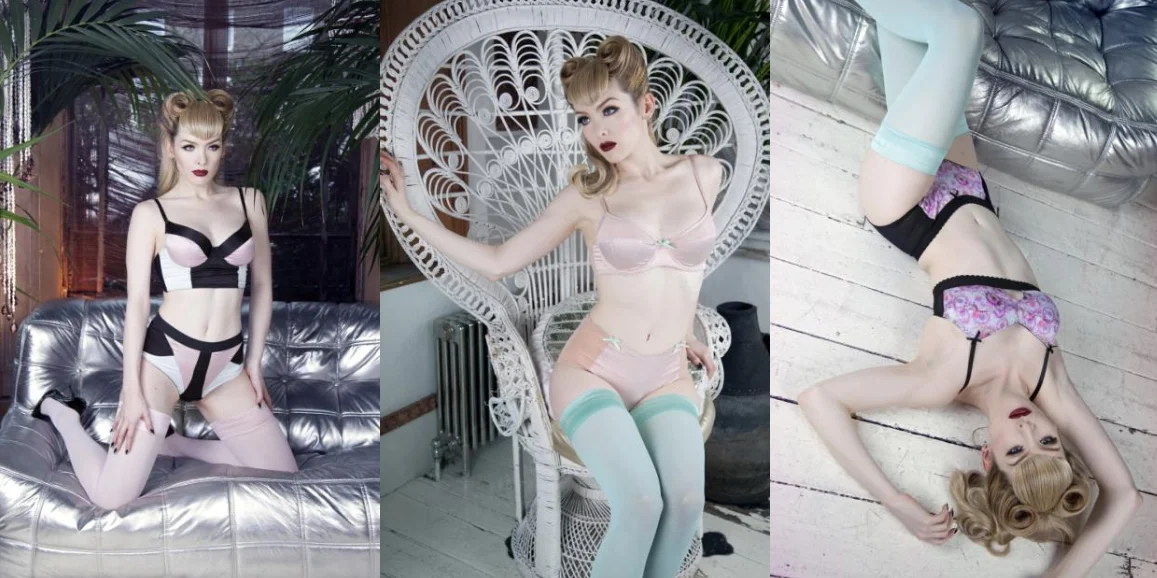
The winning collection will sit under the title ‘Future Pin-ups’ reflecting that this range
features designs that have the feel of being contemporary classics.
Feel free to use the Stylesight Trend Forecast (see shots below) as a starting point but also to let your own creative processes interpret the meaning of ‘Sartorial’. We love print design and are able to digitally print any winning designs, so feel free to submit any print design as part of your entry.
THE PRIZE
1) To see your designs go from concept to production and be available for sale.
2) A set of your winning design in your size
3) A £200 voucher to spend on our site www.playfulpromises.com
4) The opportunity to see your work and name with links to any portfolios promoted across our social media of which we have around 60k followers in total, as well as in a newsletter to our database.
For any questions, and to send your entry, please feel free to email: emma@playfulpromises.com
You may remember that each year (2012, 2013, 2014), roughly around Valentine's Day (and once in the Summer!) we get together with our fellow independent lingerie brands for a Love Bomb!
It gives us a chance to tell you all about our favourite fellow brands, encourage you to shop with independent and small businesses, and to give you a cheeky little discount too.
We teamed up with Miss Deadly Red (who wears a 34F in Playful Promises and 32G in Miss Mandalay) to shoot the Love Bomb images in and around our studio/office! I'm particularly proud that we could make good use of one of my many passive aggressive notes ;)
Each brand came up with a word that describes what they love about lingerie, or how lingerie makes them feel!
Playful Promises - REBELLION
Ayten Gasson - SENSUAL
Miss Mandalay - SUPPORT
Karolina Laskowska - JOY
Kiss Me Deadly - SILHOUETTE
Sparklewren - INDULGENCE
Make sure to visit our facebook page, where we will be releasing an image each day for each brand.
We've been working on a cheeky campaign to celebrate Playful Promises reacquainting itself with its more seductive side.
"The Product of a Mischievous Mind" features quotes from classic novels by authors including Jane Austen, Charlotte Brontë and Elizabeth Gaskell. Although innocent in their context, read today, these quotes take on risqué and suggestive meanings – if your mind is mischievous enough!
You can hear Miss Miranda read these quotes in a series of sumptuous videos, with more to be released soon.
The work launches with a bold series of print ads and packaging, which use typographic trickery to suggest the female form. More quotes are housed on the campaign site at www.playfulpromises.com/mischievousmind
Emma Parker, the founder of Playful Promises:
The timing of this collaboration was perfect for us; since the recession there have been fewer boutiques to sell to, and the ones that are buying are taking safer options, making sure they are well stocked with white/black and beige bras. As a brand we spent a lot of time trying to be more commercial but in reality we are a more sexy brand and the pieces that sell well for us are the more daring pieces.
Because of this we have decided to put the focus on our own retail site, as well as those special retailers who understand our brand; to not worry so much about being commercial and instead do more of what is actually my favourite kind of lingerie design – the sexy stuff. It seems to be working as when we re-introduced our ‘ouvert’ briefs they have been one of our best selling lines ever!
Visit A Mischievous Mind
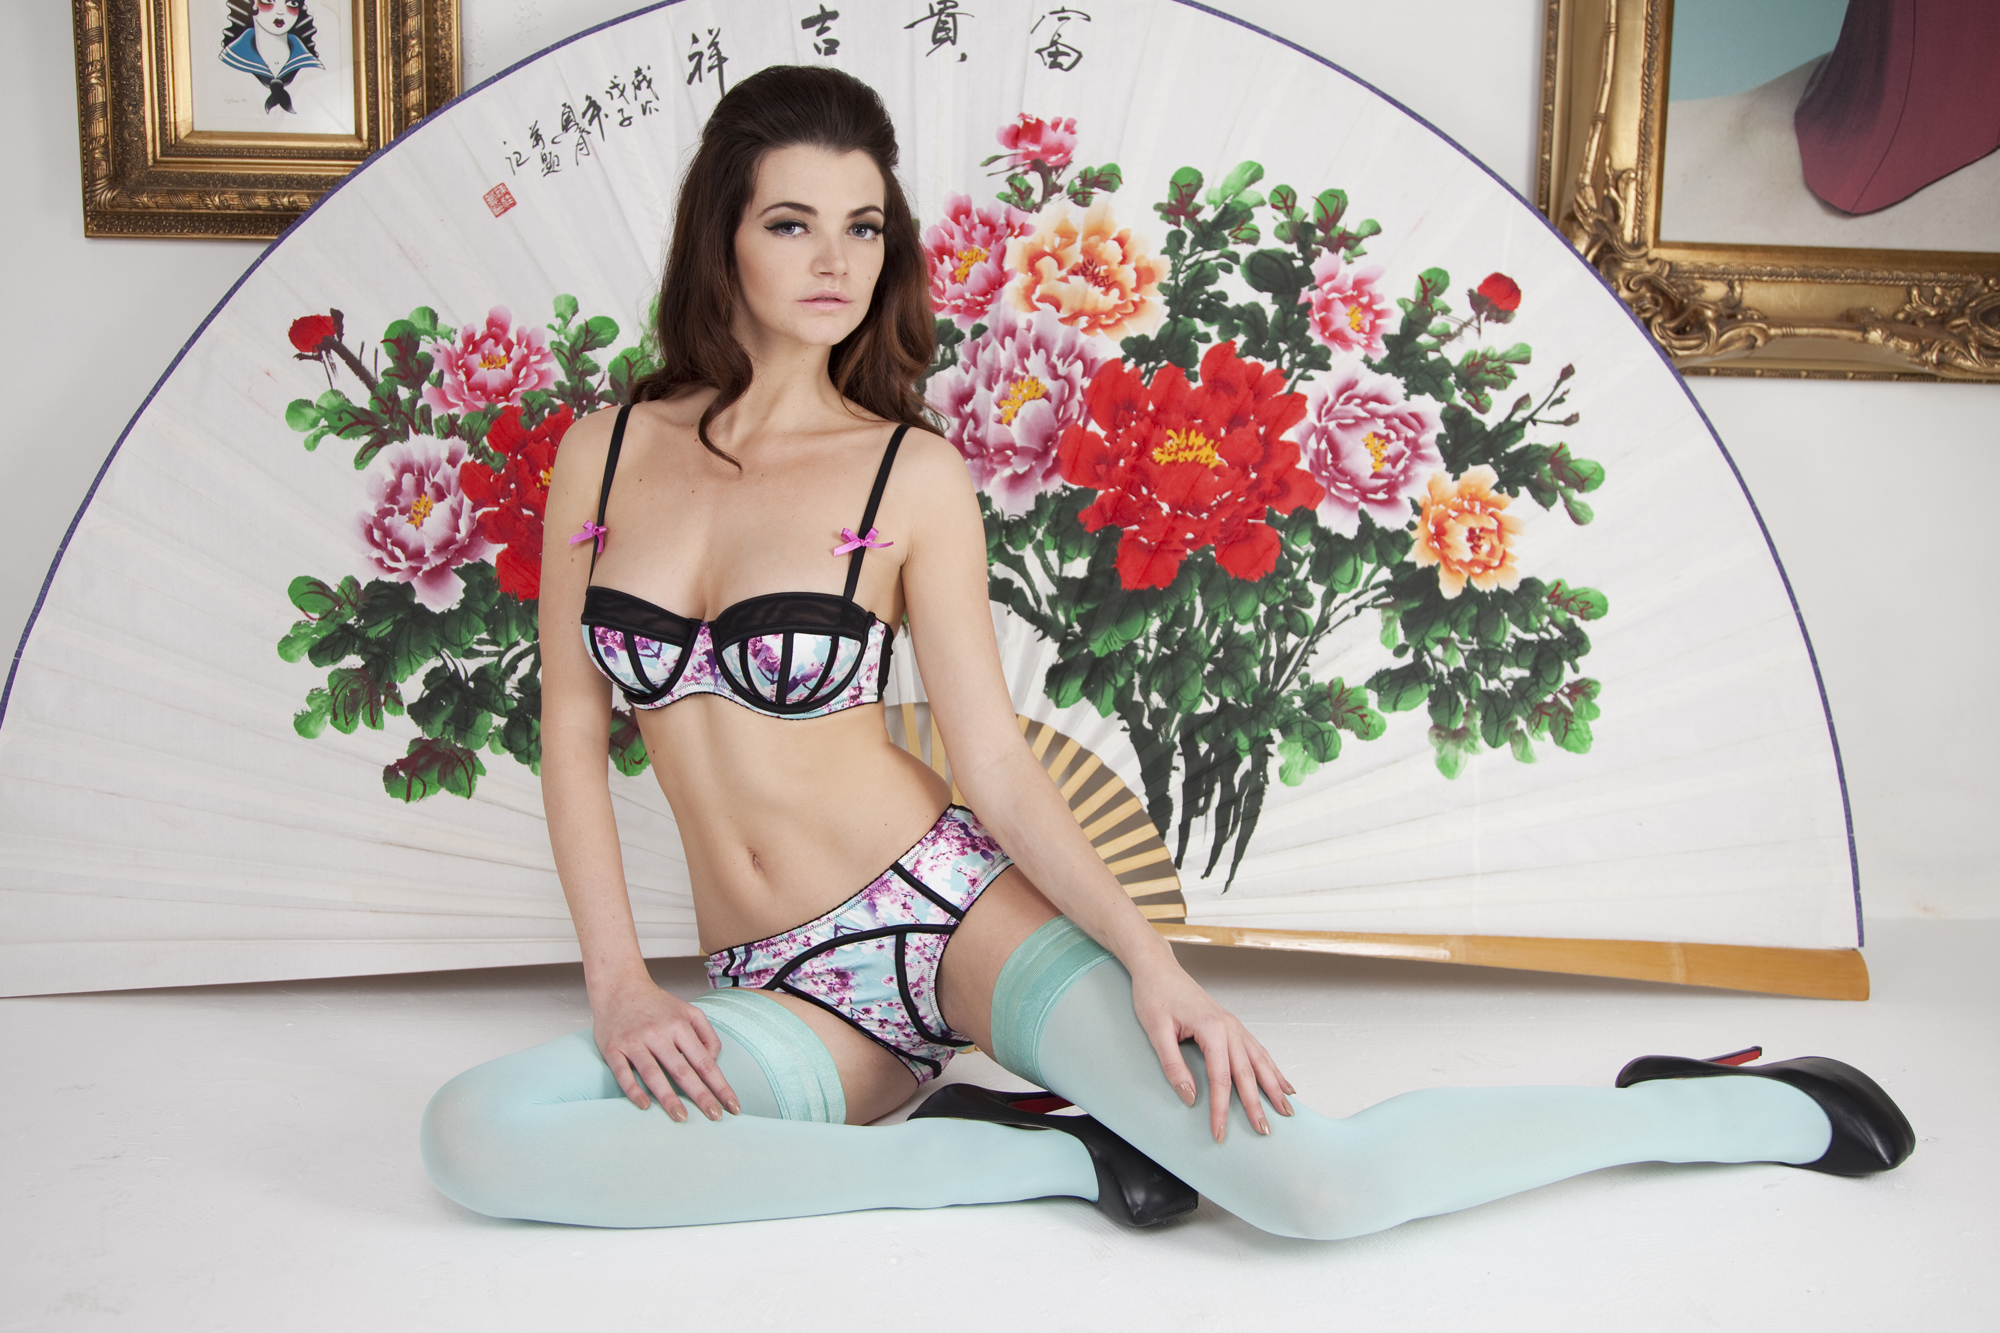
For this tutorial I was inspired by the colours of our Mia set! The gorgeous pink and blue cherry blossom print was created exclusively by our in-house team, so you won't see it anywhere else.
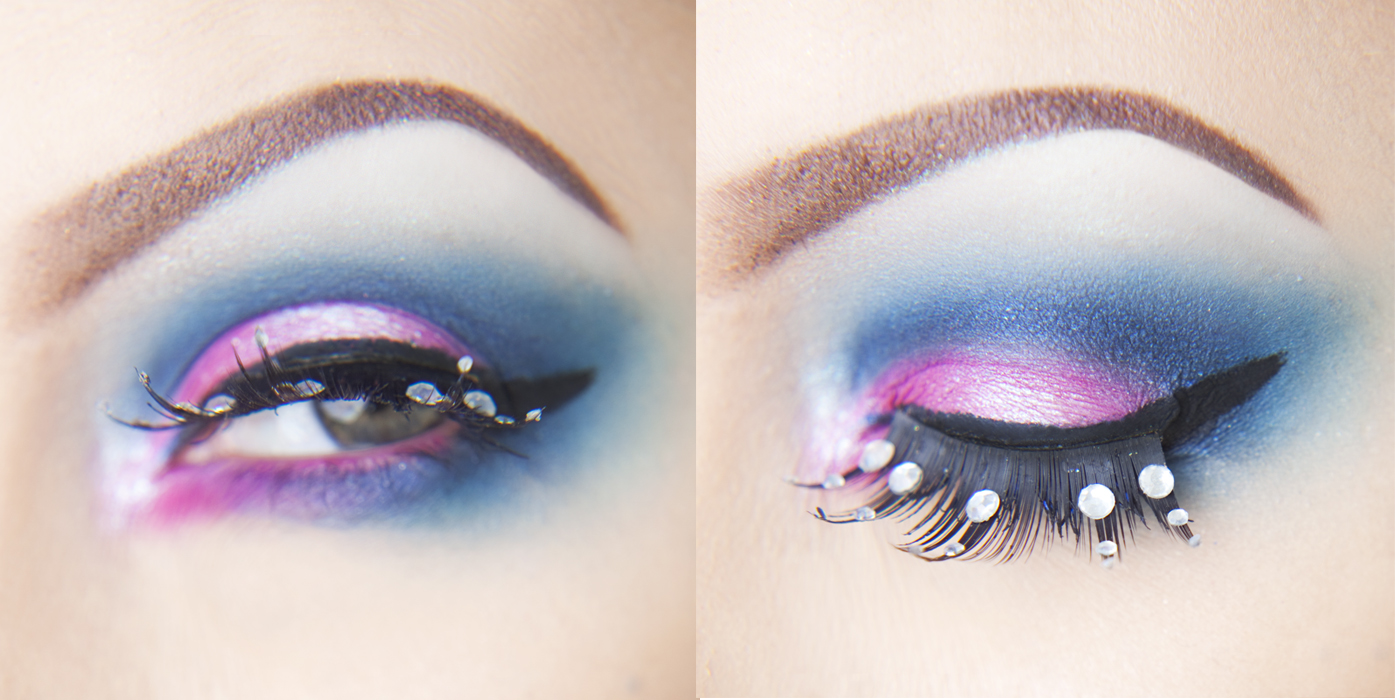
For this tutorial I'll be using some colourful pressed eyeshadow and loose eyeshadow from Sugarpill, along with their Idol false eyelashes.
I love my makeup bold and bright, but you can lay it on as thick as you like, and be as creative as you like. The great thing about these pigments is that with less product on your brushes, you can create a more subtle look!
Step 1: Using a flat brush apply the Afterparty pressed eyeshadow along the crease of your eyelid and drag around the outer edge of the eye in a curved shape. Continue the colour along the lashline of your lower lid.
Step 2: Using a medium blending brush blend the colour outwards all around the eye. Use a clean brush to add Lumi loose eyeshadow on your brow bone and blend downwards into the blue.
Step 3: Clean off the brush you used for the previous step and add the Dollipop pressed eyeshadow to your lid and the corner of your eye. Using a thin brush, add just a touch of the pink to the waterline.
Step 4: Using the brush you used for step 1, apply the Magpie loose eyeshadow along your crease, blending out towards the outer edges. Make sure you add less towards the inner eye, and more towards the outer, so you are creating an oval shape.
Step 5: Add a touch of Lumi to the inner corner of your eye, and the centre of your lid.
Step 6: Using liquid or gel eyeliner (I swear by Collection's Liquid Liner), create a cat-flick, starting low on the inner eye and gradually sloping upwards to the outer eye. Add your favourite mascara to the top lash.
Step 7: Add your favourite lashes - I used the Idol eyelashes, I love how the little beads work with the Lumi pigment!
There's 20% off makeup at Playful Promises with code "MAKEMEUP" all weekend (offer ends 3rd Feb), and to celebrate I've put together a new tutorial!
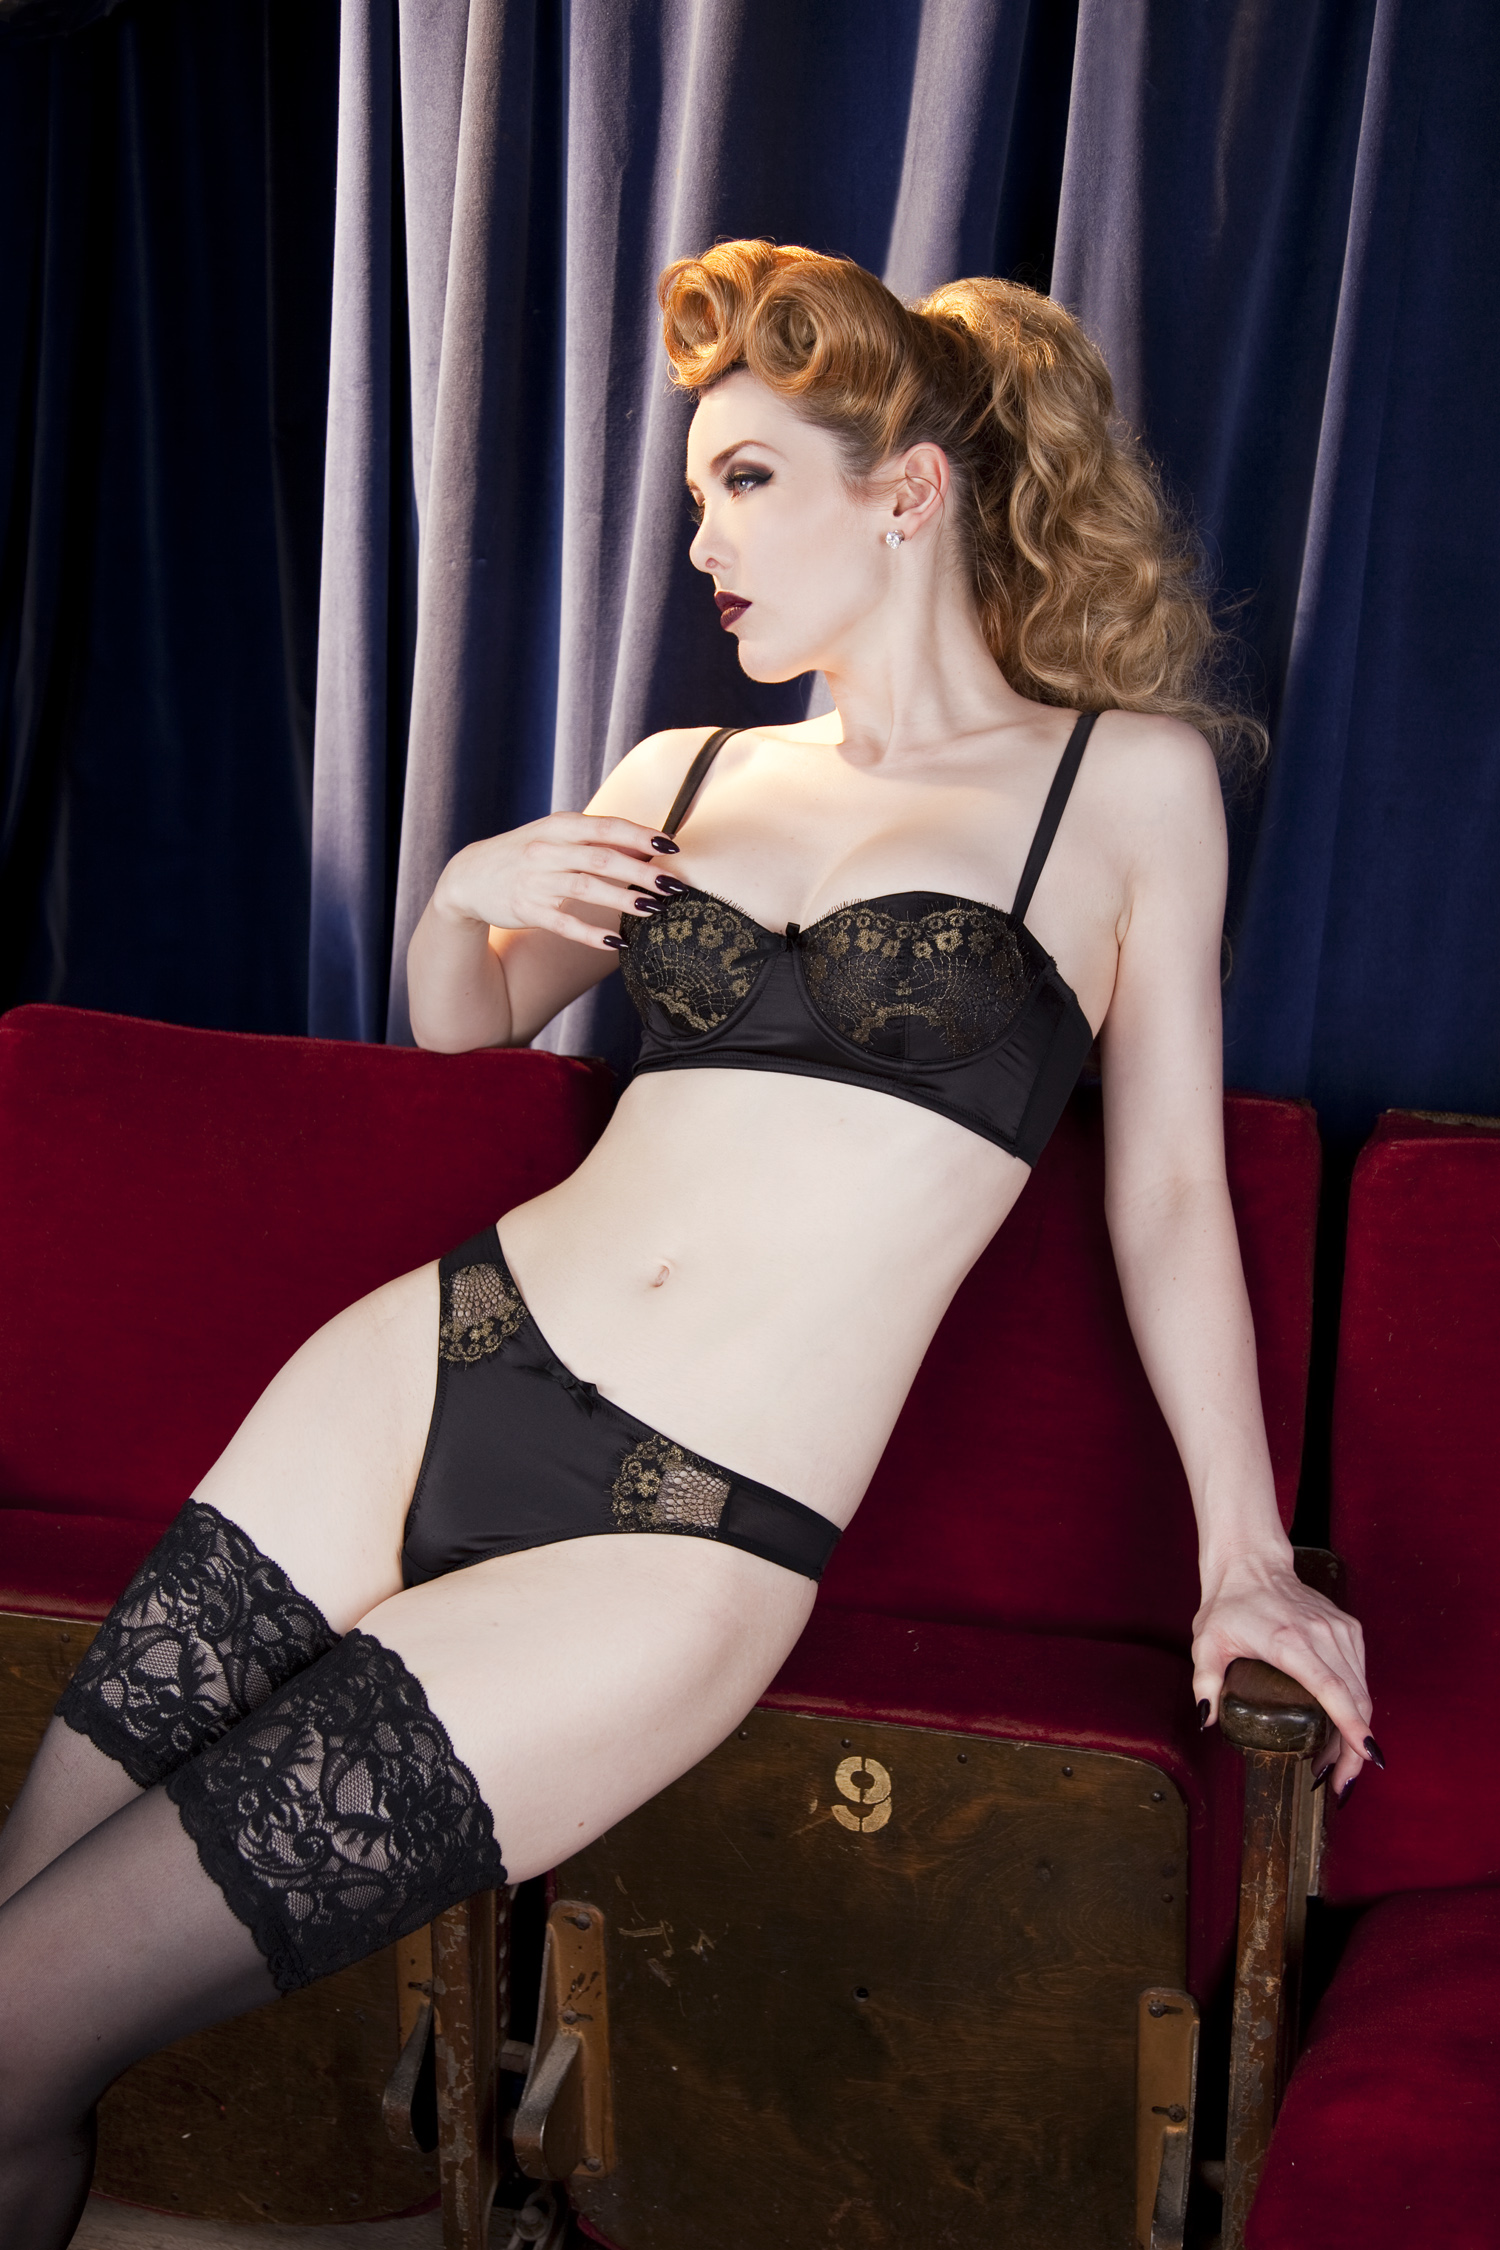
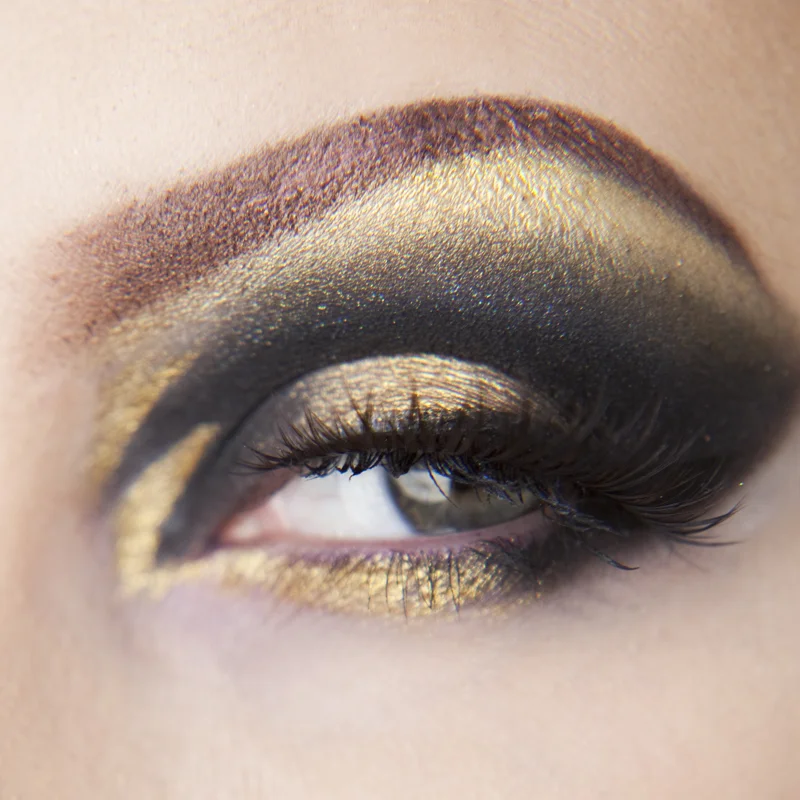
This time I was inspired by our beautiful gold lace Penelope set
For this tutorial I'm using two different types of eyeshadow - loose and pressed. A lot of people prefer pressed eyeshadow as it's less messy and easy to transport, but I find that the pigments and shimmers of the loose powders are just so much more fun! If you drop any on your face while applying, don't worry - just use a cotton bud to wipe the mess away. Some people also prefer to put their foundation on after the eye-makeup, which would cover any mistakes.
I love my makeup bold and bright, but you can lay it on as thick as you like, and be as creative as you like. The great thing about these pigments is that with less product on your brushes, you can create a more subtle look!
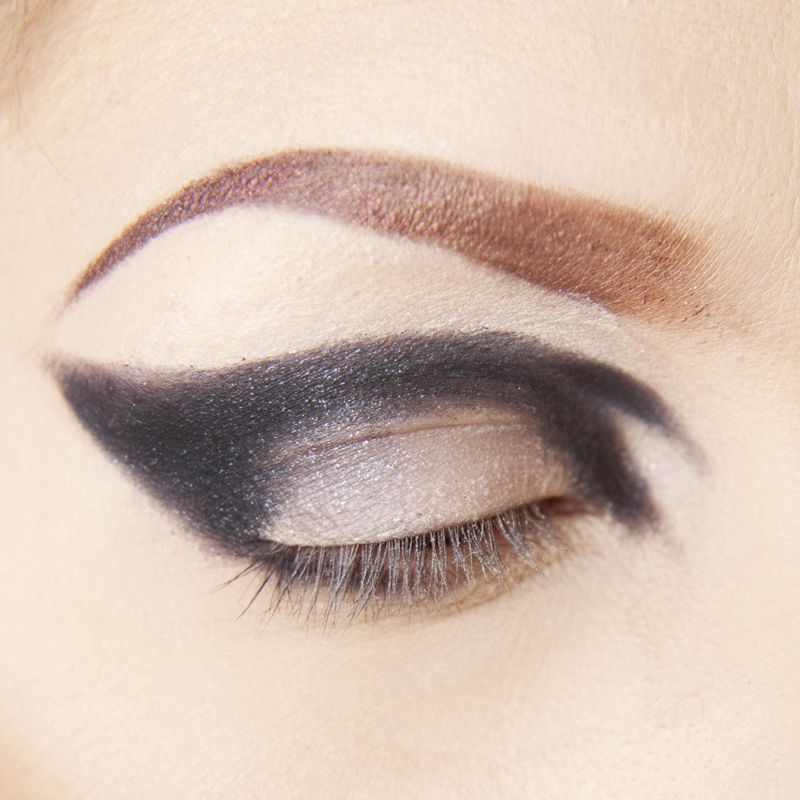
Step 1: Using a thin or flat brush, etch out the basic shape of how you want the black section of the shadow to look. If you are worried, you can first draw a very light line with a kohl pencil before applying any eyeshadow. I used Bulletproof Pressed Eyeshadow to create an exaggerated cat-eye flick on the outer eye, and two points towards the inner eye. I also pulled the colour round to my lower lid, a third of the way along.
Take time on creating the curve of the flick; if you have trouble keeping the line, you can cut a curve out of some paper or card and use this as a template. It's fine if any other section looks a bit messy, as this will be blended out or re-shaped with gold.
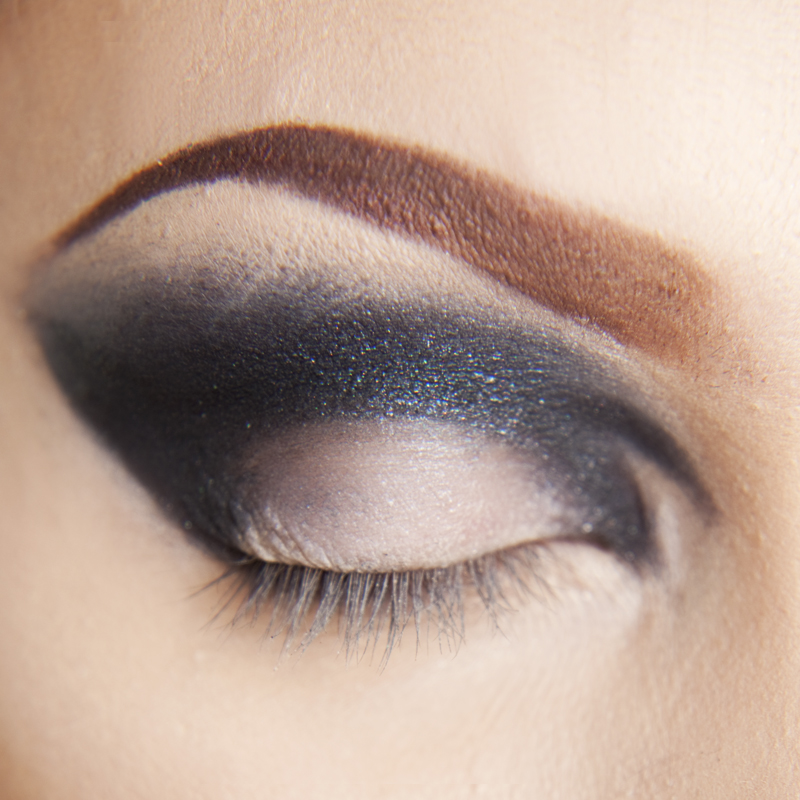
Step 2: Use a medium sized blending brush to apply Stella Loose Eyeshadow to the crease of your eyelid and start blending upwards. The closer to the crease, the more eyeshadow needs to be on the brush - always move your brush from the inside of your eye out towards the flick.
Step 3: Now you can start blending the gold into your look. Using a clean brush, load the Goldilux Loose Eyeshadow onto your brow bone and blend down into the black. I find the easiest way to blend is to gradually sweep the brush across, lower and lower - you may need to add a touch of black onto the brush to make a seamless blend.
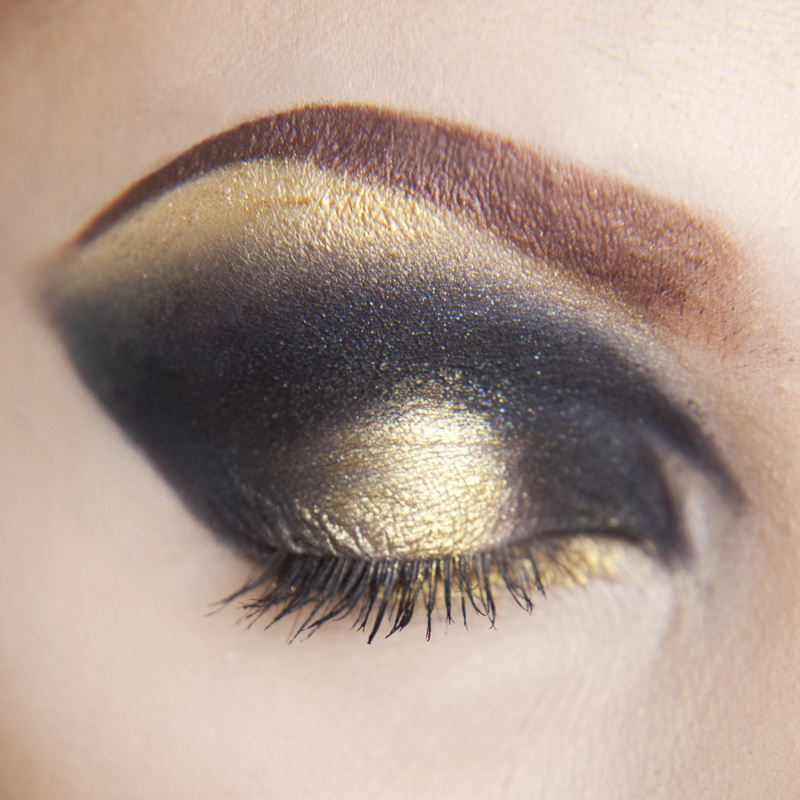
Step 4: For this look I also used a small brush to apply Goldilux along the bottom lid, where it will blend into the black. Add about a cm or so of gold onto the centre of the top lid.
Step 5: Use more Bulletproof to the outside and the inside of the top lid, blending closer to the centre into the gold. Add mascara to the top lash and to the outside corner of the lower lash.
Step 6: Using a very thin brush, neaten up the black point(s) by the inner eye. Don't blend this as you want the black to be a dramatic point-shape here.
Step 7: Use your favourite gel or liquid liner to mimic the cat-flick on the outer eye, but only bring the liner to about halfway along your lid.
Step 8: Add some false eyelashes (I used the Saint lashes as they are the most "natural" for this look). Position so they start about a quarter of the way along your top lid, as close to your lash line as possible.